I’ll just say it. Landscape photography is not my jam. I’m definitely a fan of viewing landscape photography, but when it comes to taking pictures of nature and scenery, I always end up getting rid of the images. My friend, Beka (we go waaaaay back….to elementary school! Back in the fourth grade, her now husband, Dave, threw spit wads in my hair.), is fantastic at landscape photography. She wrote the blog post below to give you tips and tricks to making the most of landscape photography. Since you readers don’t see many landscape pictures here on my blog, I like this change of pace in having Beka do a guest post for me. Make sure to go check out her blog, Sunshine to the Square Inch and follow her on Instagram under the handle @sunshinetothesquareinch. She has some AH-MAZING photos on her blog of travels around the world. My favorites are those of her year in Southeast Asia.
Hello readers and clients of Jenny! My name is Beka and I blog over at Sunshine to the Square Inch. I also have a love for photography and I’m here to chat with you about landscape photography.
My love for landscape photography came about because of our travels. Since getting married in 2013 my husband and I have been to 15+ states and 7 countries and one of the best ways to remember our travels is through photography.
If landscape photography isn’t something you have practiced or if it intimidates you I urge you to give it a try and here is why: you get to shoot the photo however many times you want until you get it right. That is a huge perk of landscape photography!
Here are a six other tips for landscape photography that will hopefully be a help to you:
1. Tell a Story
Just like you would for a wedding, where you shoot from getting ready until they cut the cake at the reception, let your landscape photography tell a story. How did you arrive to your destination? Was it by plane? By boat? Snap a picture of how you traveled. Try to capture the beginning of your landscape session until the end. People are nosy! They want the full story. It definitely takes time to master this skill (I’m still working on it) but when it’s done right it’s a wonderful photography journey.
2. Different Manual Settings and Lenses
Most people love the close up pictures of things with the blurry backgrounds and often your aperture is very low. However, it’s the complete opposite for landscape as you want that entire picture crisp! In order to do this you need to tighten up that aperture, which means you will have to raise your ISO and sometimes slow down your shutter speed. It takes some practice but can be mastered pretty easily.
Also, everyone is quick to purchase the 50mm and while I do own that lens I don’t particularly like it for landscape. It’s way too zoomed in to get a big landscape picture. For years, I have used my kit lens and I recently purchased a Canon EF 16-35mm f/2.8L on Ebay. Basically, it’s a really wide angle lens and allows for great landscape shots. Think wide with your lenses and landscape shots and it will make a big difference.
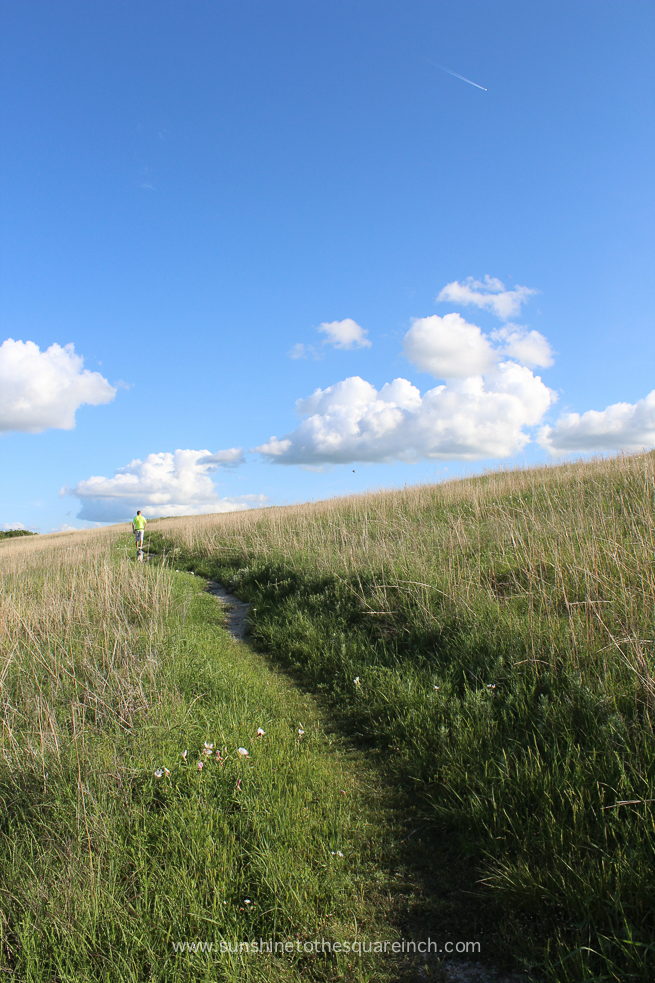
3. The Rule of Thirds
Have you heard of the rule of thirds? If you haven’t, it basically is a grid in your camera that is divided into thirds. A lot of people take a picture where everything is in the center. However, our eyes are made where we notice things better in thirds. An example of how to do this in landscape is to make 2/3 of your picture the sky and 1/3 of it the ground. Or you could do 2/3 of it the ground and 1/3 of it the sky. It does take some practice but after a while you do it without noticing. Also, if you google landscape photography you can study other people’s photos and see what and how they practiced the rule of thirds.
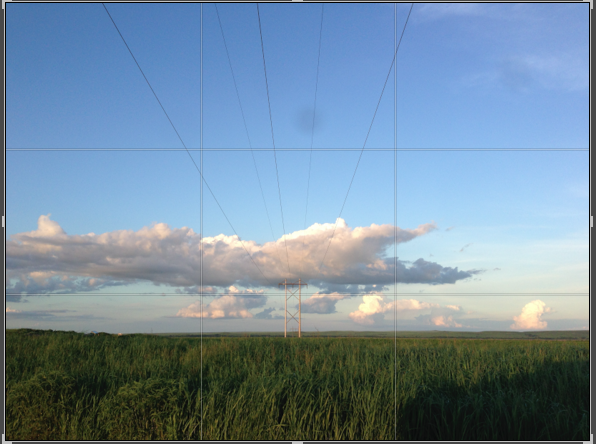
A great way to practice this is with your smart phone. Most phones can turn that grid on when you are shooting photos. It allows you to really line things up and get that rule of thirds into practice.
Here is a picture with the grid so it will hopefully make sense as to what it is.
4. Object to Compare
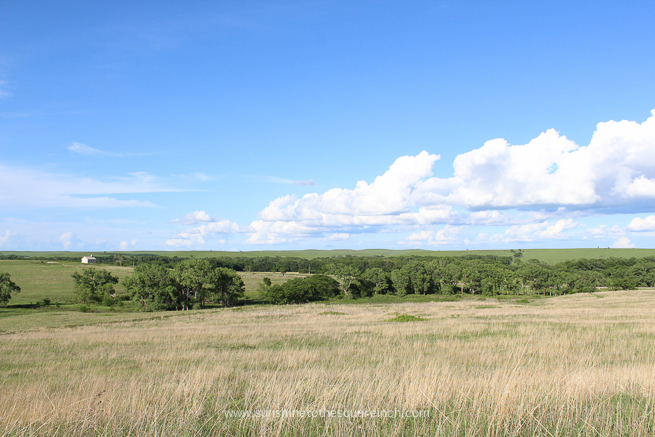
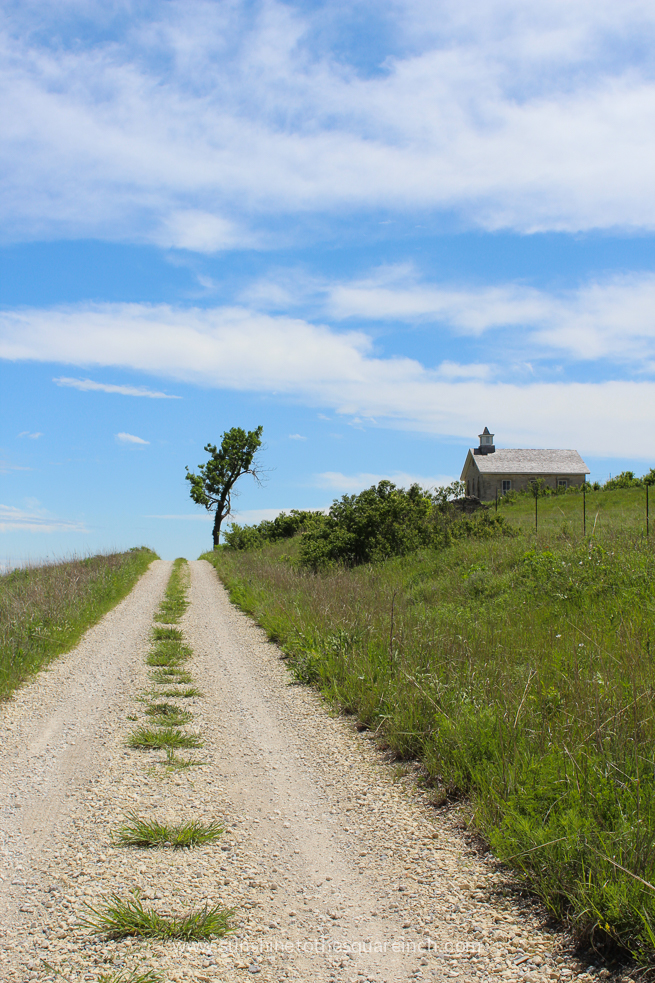
Sometimes it is hard for a picture to stand alone with just scenery but by putting an object in your shot to see how grand the background is can be really helpful. In the picture below you can see the tree and the little school house help paint a bigger picture.
Another thing about putting an object in there is to not chop an object off. For example I want to make sure that I get the entire school and the entire tree in the picture. To cut one of them off would take away from the grand picture.
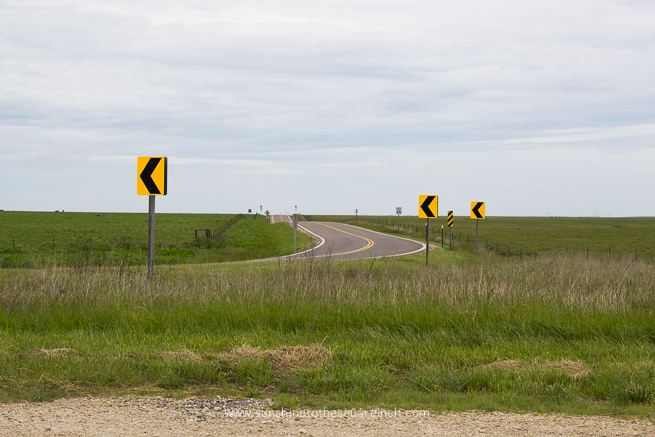
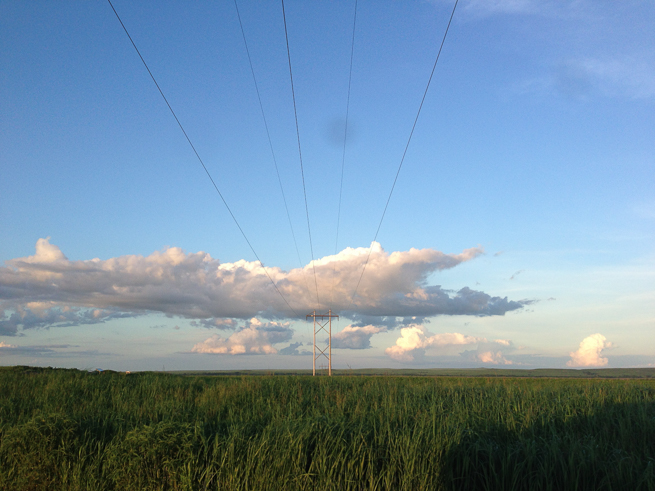
5. Leading Lines
Leading lines are your best friend in landscape photography! There are many types: horizontal, vertical, curved (think a beach, patch, road), etc. Just be sure that the lines help add to your pictures rather than distract. You don’t want your leading lines to be the main thing in the picture but rather to enhance the landscape you are photographing.
Here I am using power lines as my leading lines as it helps add an effect into my landscape shot.
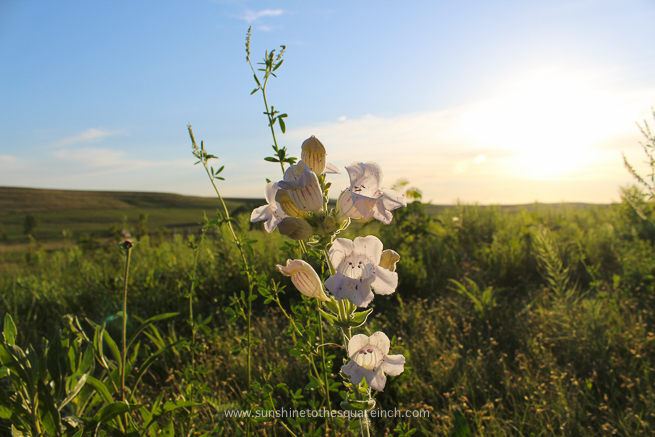
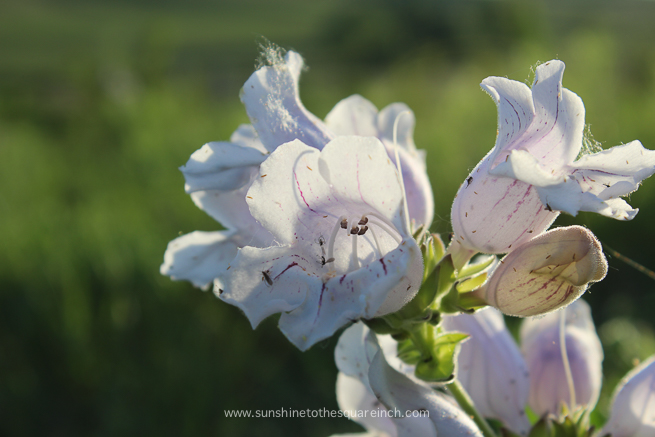
6. Remember the Details
Lastly, I would say that although you are shooting a big picture do remember the details. In the photo below, I have a pretty Kansas scene but in the forefront is a really pretty wildflower. That helps tell the full story and allows for the beautiful details to be seen and remembered.
I hope you will get out there and put some of these tips to good use! If have any other tips or if you have any questions feel free to comment or you can e-mail me at [email protected]